Sunday, November 10, 2013

Joyful Christmas Day 2

Oh, there are so many different ideas for this stamp set on Pinterest, I may be making cards with this set until Christmas (unless I decide to do another set).  I figured out something today.  Yesterday I stamped and embossed 3 times in order to have three layers.  Today I figured out if I use my Fiskars fingertip knife when cutting out the middle, I can use what's left of that stamp/embossing for the bottom layer
 I used the mirrored paper that was in my DCWV Immortal Love Cardstock collection.  I wish I had a whole stack of this mirrored paper. 

 When I add the middle layer, you can't see the empty spot in the bottom layer anymore!

I decided for my sentiment, I wanted a different shape than what I had easily available... I wanted one that was just big enough for my sentiment, "Merry Christmas" from the Petite Pairs set.  I took out my spellbinders, and realized that if I ran the scalloped square shape through the big shot twice, it could become a rectangle.  The key to this working was the magnetic platform for the big kick.  Yes, I know you could also use washi tape and tape the spellbinder to the embossed sentiment, but I'm a little lazy, and the magnetic platform really makes a difference. And of course, I had to add some bling to the middle.  Here's today's finished card:

The card that inspired my creation (and I think is better) is here.

Saturday, November 9, 2013

Joyful Christmas Day 1

Poinsettias remind me of my Grandmother, maybe that's why I love this stamp set so much.  There are so many different ways that this stamp from Stampin' Up can be used.  I had to create a board just for it on Pinterest.  I think I'll see how many cards I can make with this set, won't that be fun?

I used DCWV bright metallics paper, stamped using Versa Mark and used gold embossing powder and on the other one I used Gold tinsel embossing powder. The patterned paper I used is from Bo-Bunny's new Silver and Gold line. After stamping the sentiment with Always Artichoke, I used the Labels Collection Framelits dies and the Paper Piercing tool. After stacking them, I decided to use some metallic thread to pump it up a level. On the other one I used the paper piercing tool to mark places around the label and added stickles.

The inspiration I used to create my cards can be found here.

Sunday, November 3, 2013

Productive Crop

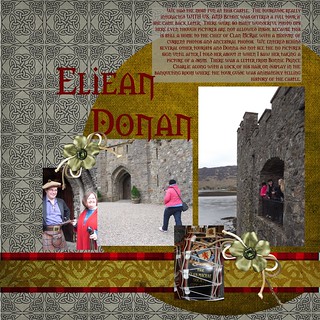
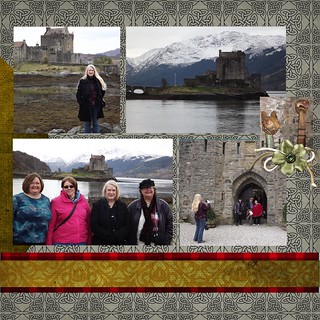
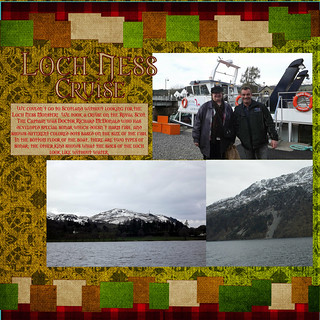
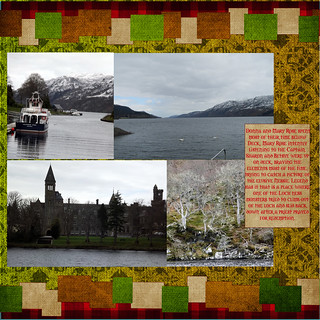
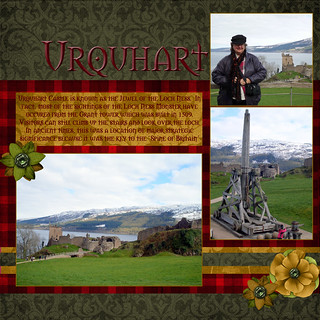
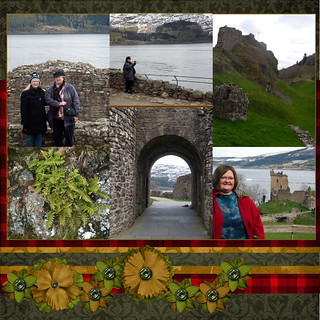
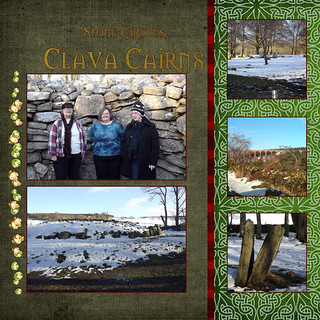
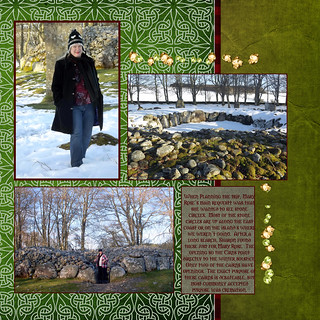
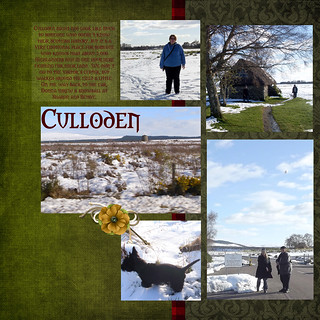
I had a very productive day at the Choo-Choo scrappers' crop yesterday.  I completed almost 10 layouts on my sisters' Scotland scrapbook.  They really want it for Christmas, and I'd like to finish it too :)

Pg 28 Eilan Donan
Pg 29 Eilan Donan
Pg 30 Loch Ness
Pg 31 Loch Ness
Pg 32 Urquhart
Pg 33 Urquhart
Pg 34 Clava Cairns
Pg 35 Clava Cairns
Pg 36 Culloden I learned a couple of techniques accidentally yesterday...beveling the text to make it appear 3-dimensional (Urquhart), and how easy it is to create an outline for text or photos (Clava Cairns).

Saturday, October 26, 2013

Happy Halloween

I got this stamp a few weeks ago, but this is the first time I have used it.  It took a few tries to get a clean stamp because the stamp is large, and the middle didn't want to transfer.  I finally decided to do it differently.  I cut the paper and instead of stamping onto the paper, i put the stamp inked upside up, and placed the paper on top of it and rubbed the image onto it.

 I used distress inks to color. The first one I used reinkers and a water brush, and it took quite a bit of time, but I like the results.  I used the Tim Holtz ruler to pierce an edging on it, then used pop dots to give it a little bit of dimension

The second card I used the Distress markers.  I liked the control it gave me for coloring, but I guess I need to work with them more because I like the colors I got with the reinkers better.  Instead of piercing around the edge of this card, I used the deckle blade on my cutterpede to trim it to where there isn't any white showing, and I think I like that look better.

Next time I use this stamp, I think I'll use a combination of reinkers and markers. 

Saturday, July 27, 2013

Piano Card

Don't you just love it when you wake up on your day off and your mojo is screaming to be used?
The pianist at church had a birthday this week, and last weekend I saw this card on Pinterest, and knew it was just the card for Martha!  I wound up using the same paper collection which I had used for a mini album that I made for her wedding in 2011.  I really loved the original, but here's my take on it, and am so pleased that I already intend to make a couple more:


I had a few challenges, but figured out the best way to do the keyboard was to create a file on my Silhouette.

I had intended to make some roses using my McGill punches, but wound up using a cluster from Prima. 

I don't have a butterfly punch that I wanted, so I had to improvise.  I was about to cut one out with the Silhouette, but decided instead to look for a stamp.  (Insert groan here thinking about dragging all my stamps out to look for just the right one).  But then I remembered that I'd decided to take a picture of all my stamps and put them in a folder on dropbox, so I picked up my kindle, took a quick look, and had just the stamp I wanted in less than a minute!  For those of you that don't know what dropbox is, it's a cloud storage for files and photos. If you are interested and sign up using this link, we both get free storage: http://db.tt/Ja2OshBS I found out about it when I lost some digi pages due to a computer issue. If you want to take a peek at my stamp album, https://www.dropbox.com/sc/58nmcf3jym4xh54/k_ oVKjsX4w and let me know if you are able to look at my other pictures from that link. Test the security of it if you will.

Saturday, February 2, 2013

LOAD213 DAY2

So today's prompt was to figure out what would consist of a perfect day for me and scrap it, with the intention of from knowing what a perfect day would be then it could be created.  God has blessed me with many perfect days in my life.  My trip to Scotland was a whole week of perfect days.  This was a small snippet of one of those days.  But another page completed in my sister's digital scrapbooks. :)  The paper and overlays are from a kit on digitalscrapdesigns.com  I created the loopy design above and below the panoramic picture after spending too much time trying to find one.


Friday, February 1, 2013

LOAD213 Day 1

I don't know how Lain could challenge me more than she did today.  She actually challenged us to create a layout without words!  Words are the difference between a photo album and a scrapbook in my opinion.  But I do have these pictures that I haven't been able to come up with a clever title for, nor have I decided what story goes with the pictures.  But I did know of a technique I wanted to use! And the pictures were too cute to leave unscrapped.

First, I cut 2 circles out with my coluzzle, the larger one a light green, the other a reddish pink.


Then I used the Tim Holtz Distressing tool and distressed the edges. 


Then  I inked the edges of the green pp with Pine Needles Distress ink.  The distressing I did in the previous step helps the saturation degree of the edges.


Then I used  some adhesive sheets by 3L to adhere adhesive to all of the pinkish red circle and adhered to the middle of the green circle.


Using the scissors, I cut the circle in to half, and then quarters, and the eighths.


Then using Festive Berries, I inked the edges of the pieces.  See the difference it makes on these?


Then I used  Enamel Accents and put fake seeds on the watermelon pieces.


Then using a cd to put the watermelon pieces on a pleasing semi-circle, I attached the pieces to my layout.


 Here is the final result. I used Sketch Savvy #76 for the design.  I cut the shape at the bottom out with the Silhouette, and then distressed and inked it the same as I did the green circle in the 3rd step above.  And then for another detail, a technique I did which I wasn't planning to do was the stitching.  I actually used my Sew Easy!  I was almost finished stitching when I realized that the green piece of paper was one of the pieces that Lain sent me for winning LOAD212.   If I had thought, I couldn't have planned it better.