My father-in-law’s 80
th birthday is coming
up.
He’s like most men, impossible to
shop for! So I make it easy on myself and make something.
I showed my husband my pinterest board of
quilts and he loved one like this.
I searched and searched for a pattern or instructions, and
the only thing I could find was a comment that it used a curvy log cabin with
HST center.
I thought I would
write down the process to make it easier for other quilters who are asking for a pattern and for my next one...the first thing my daughter who is in the army said when she saw it was "I want one". Guess what she's getting for Christmas?
Yardage needed for a lapsize quilt 88 x 66
5 shades of blue ½ yard each.
5 shades of red ¾ yard each
5 shades of white-cream 1 yard each
Batting and backing
The goal is to have
6 All Blue squares
3 Squares with wide blue and thin white
1 Square with thin blue and wide white
20 Squares with Wide White and thin Red
18 Squares with Wide Red and thin White
Step #1: cutting the fabric into equal amounts of 2 ½
inch strips and 1 ½ inch strips (if you have four 2 ½ inch strips, you should
have four 1 ½ inch strips). If when you
get to the end there’s enough for one more cut, do an extra 1 ½ inch strip.
You know the saying “Time is Money”, I used that and the lack of time to get quilts done to justify using a 40% off coupon at Joann’s to buy a slotted ruler. Not only does it save time, but it saves me some frustration too, gotta love that! I used a little bit of washi tape to mark where I was going to cut so that I didn't mess up. It seems simple enough, but can't tell you how many times I haven't counted right and cut something too small when I didn't take the time to mark it with washi tape because it was too easy.
Step #2: For the foundation block, you need a bunch
of HST (Half Square Triangles).
You will
need 6 all blue, 4 blue & white, 38 red & white. To create these, I
took 2 ½ inch strips and placed them right sides facing and drew with a pencil
or pen a line at every 2 ½ inches, then I drew a line from top left to bottom
right then bottom left to top right creating a zig zag/chevron and then I sewed
¼ of an inch on each side of the line.
Since I did it in strips, I sewed on one side down the whole strip and
then I went back and sewed the other side. no need to worry if you're sewing over a pencil mark, it will come out all right.
Then go back and cut along the pencil marks so you have lots
of triangles and then press them open
(ironing really is your friend in making a lovely quilt) and you’ll have lovely
stacks of HST
Here’s a YouTube video demonstrating what I described above
(and where I learned this):
Step #3: Join 2 ½ inch strips to HST. There are a couple of different methods of
doing this. One method is to cut the
fabric and then sew it and then trim it up again. I prefer the strip method where I put a square down on
the strip and when I get to the end of sewing that square down I put the next
square down and sew until the end of that one and repeat until there isn’t
enough room on that strip and then I get the next strip. That’s the method I used on this whole quilt
Sew a 2 ½ inch strip of blue to the 6 all blue HST
Sew a 2 ½ inch strip of blue to 3 of the blue and white HST –
make sure you sew to the blue half
Sew a 2 ½ inch strip of red to 18 of the red and white HST –
make sure you sew to the red half.
Sew a 2 ½ inch strip of white to 1 of the blue and white HST
– make sure you sew to the white half.
Sew a 2 ½ inch strip of white to 20 of the red and white HST– make sure you sew to the
white half.
Cut apart and Press Open.
I try to be consistent in my pressing and put the HST on the ironing
board and peel back the new piece and iron so that the seams will be radiating
out from the middle. Maybe this picture
will help.
Your stacks now look like this. Note: I personally tried to use different patterns on the squares so they weren't all the same and so the fabric would come out in the end and I wouldn't be out of one fabric but have too much of another.
Step #4: add another 2 ½ inch strip
Sew a 2 ½ inch strip of blue to the 6 all blue HST
Sew a 2 ½ inch strip of blue to 3 of the blue and white HST –
make sure you sew to the other blue half
Sew a 2 ½ inch strip of red to 18 of the red and white HST –
make sure you sew to the other red half.
Sew a 2 ½ inch strip of white to 1 of the blue and white HST
– make sure you sew to the other white half.
Sew a 2 ½ inch strip of white to 20 of the red and white HST– make sure you sew to the
other white half.
Cut apart and Press Open.
Tip: You may use scissors to cut your squares from the strips, but
I prefer using a rotary blade and ruler to make sure my squares stay square
throughout the process
Step #5: Add 1 ½ inch strip to each square on the
third side of the HST – imagine a spiral- you start at the center and then keep
circling around.
Sew a 1 ½ inch strip of blue to the 6 all blue HST
Sew a 1 ½ inch strip of white to 3 of the blue and white HST
– make sure you sew to the white half
Sew a 1 ½ inch strip of white to 18 of the red and white HST
– make sure you sew to to the white half.
Sew a 1 ½ inch strip of blue to 1 of the blue and white HST -
make sure you sew to the blue half
Sew a 1 ½ inch strip of red to 20 of the red and white HST– make sure you sew to the
red half.
Cut apart and Press Open.
Step #6: Add 1 ½ inch strip to each square on the
last side of the HST
Sew a 1 ½ inch strip of blue to the 6 all blue HST
Sew a 1 ½ inch strip of white to 3 of the blue and white HST
– make sure you sew to the other white half
Sew a 1 ½ inch strip of white to 18 of the red and white HST
– make sure you sew to the other white half.
Sew a 1 ½ inch strip of blue to 1 of the blue and white HST -
make sure you sew to the other blue half
Sew a 1 ½ inch strip of red to 20 of the red and white HST– make sure you sew to the
other red half.
Cut apart and Press Open.
Step #7: add another 2 ½ inch strip against the first 2 ½ inch
strip,
Sew a 2 ½ inch strip of blue to the 6 all blue HST
Sew a 2 ½ inch strip of blue to 3 of the blue and white – sew
blue to the wide blue.
Sew a 2 ½ inch strip of red to 18 of the red and white – sew
red to the wide red.
Sew a 2 ½ inch strip of white to 1 of the blue and white – sew
white to the wide white.
Sew a 2 ½ inch strip of white to 20 of the red and white –sew white to the wide white.
Cut apart and Press Open.
Step #8: add another 2 ½ inch strip against the other 2 ½ inch
strip of the same color
Sew a 2 ½ inch strip of blue to the 6 all blue HST
Sew a 2 ½ inch strip of blue to 3 of the blue and white–
make sure you sew blue to the wide blue.
Sew a 2 ½ inch strip of red to 18 of the red and white– make
sure you sew red to the wide red.
Sew a 2 ½ inch strip of white to 1 of the blue and white–
make sure you sew white to the wide white.
Sew a 2 ½ inch strip of white to 20 of the red and white– make sure you sew white to
the wide white.
Cut apart and Press Open.
Step #9: add another 1 ½ inch strip against the first 1 ½ inch
strip
Sew a 1 ½ inch strip of blue to the 6 all blue HST
Sew a 1 ½ inch strip of white to 3 of the blue and white HST
–sew white to white
Sew a 1 ½ inch strip of white to 18 of the red and white HST
–sew white white.
Sew a 1 ½ inch strip of blue to 1 of the blue and white HST -
sew blue to blue
Sew a 1 ½ inch strip of red to 20 of the red and white HST–sew red to red.
Step #10: add another 1 ½ inch strip against the other 1 ½ inch
strip of the same color
Sew a 1 ½ inch strip of blue to the 6 all blue HST
Sew a 1 ½ inch strip of white to 3 of the blue and white HST
–sew white to white
Sew a 1 ½ inch strip of white to 18 of the red and white HST
–sew white white.
Sew a 1 ½ inch strip of blue to 1 of the blue and white HST -
sew blue to blue
Sew a 1 ½ inch strip of red to 20 of the red and white HST–sew red to red.
Steps #11-14: Repeat Steps #7-10
Step #15: Square up the squares - I think I was able to do mine at 11 1/4 although some of them could have been 11 1/2 inch squares, they need to be all the same size.
Repeating info at the top: you should have
6 All Blue squares
3 Squares with big blue strips and little white strips
1 Square with little blue strips and big white strips
20 Squares with big White strips and little Red strips
18 Squares with big Red strips and little White strips
This is a little chart I used to figure out how to arrange the squares:
Here is a colored photo that I created using the Quiltler
app (think of a design board on your phone, take pictures of the squares you’ve
made and you can rearrange and turn them to your heart’s content)
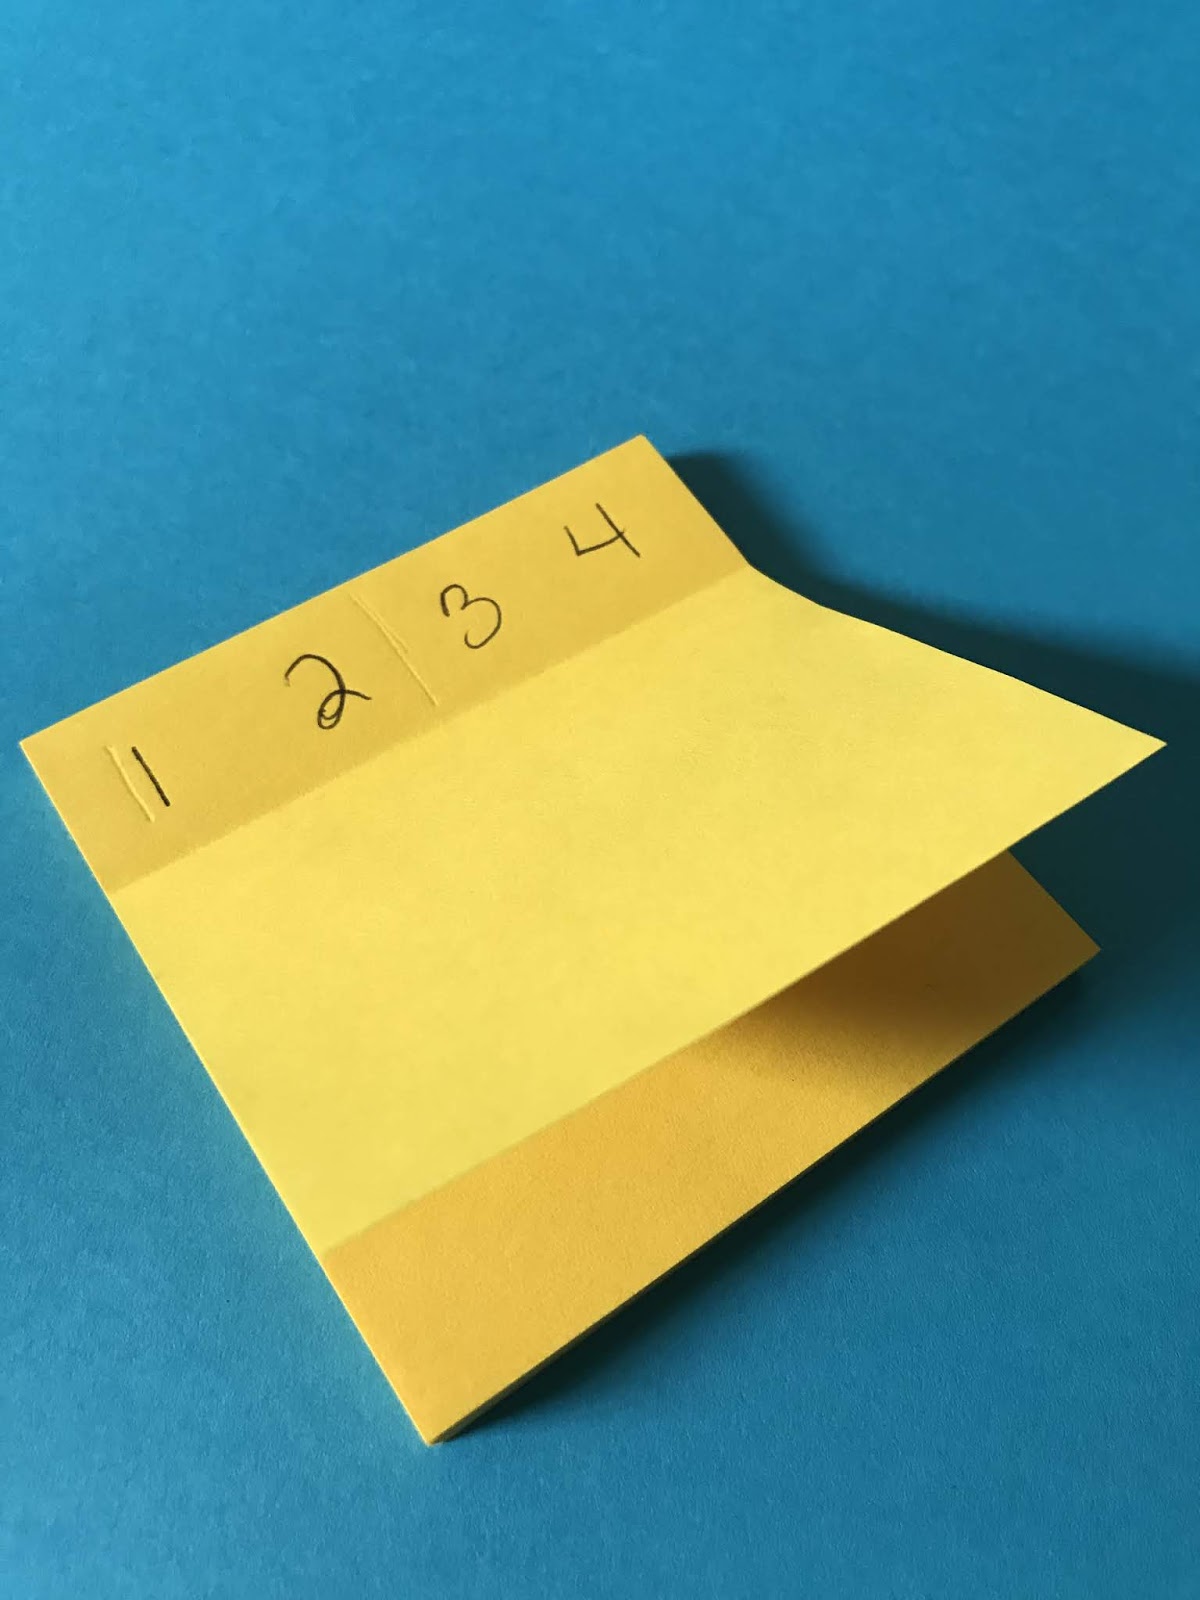
If you’re wondering what the little yellow squares are on
this photo, I took extra sticky post it notes and created numbers 1-48 and put
them on the quilt squares which helped keep them straight when going to the
sewing machine. Hind sight I should have
used 48 post-its because once it is in
the app, those numbers are too hard to see.
Working with one row at a time, (you could do columns if you wish) I sewed 1-2, 3-4, 5-6, 7-8, and then I sewed the first group of 1-2 to 3-4, 5-6 to 7-8, and then 1-4 to 5-8.
Once your 6 rows are sewn, please do yourself a big favor and lay them out on a floor, bed, design table, whatever you have, and make sure at this point that all of your squares are turned correctly.
It really helps if you can take a picture of it at this point.
Once you have confirmed that your squares are positioned correctly, sew row 1 to 2, 3 to 4, and 5 to 6. Then 1-2 to 3-4, then 1-4 to 5-6. Spread it out again and make sure you didn't sew something upside down. If you did sew a set upside down like I did (no picture provided) just get out the seam ripper and take out the seam and sew it again right side up.